BenQ Cp120 Dlp Users Manual
Here you can view all the pages of manual BenQ Cp120 Dlp Users Manual. The BenQ manuals for Projector are available online for free. You can easily download all the documents as PDF.
Page 41
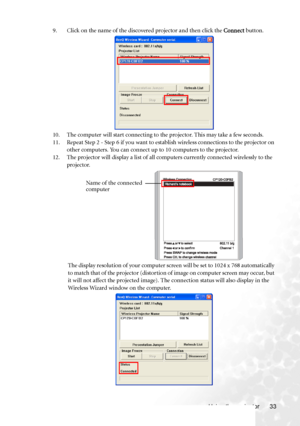
Using the projector 33 9. Click on the name of the discovered projector and then click the Connect button.
10. The computer will start connecting to the projector. This may take a few seconds.
11. Repeat Step 2 - Step 6 if you want to establish wireless connections to the projector on
other computers. You can connect up to 10 computers to the projector.
12. The projector will display a list of all computers currently connected wirelessly to the
projector.
The display resolution of your computer screen...
Page 42
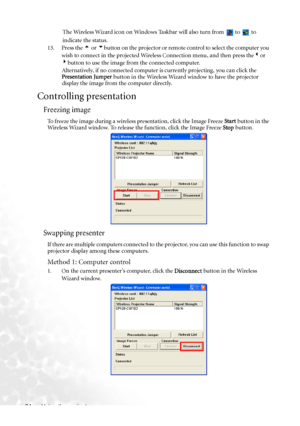
Using the projector 34The Wireless Wizard icon on Windows Taskbar will also turn from   to   to
indicate the status.
13. Press the 5 or 6button on the projector or remote control to select the computer you
wish to connect in the projected Wireless Connection menu, and then press the3or
4button to use the image from the connected computer.
Alternatively, if no connected computer is currently projecting, you can click the
Presentation Jumper button in the Wireless Wizard window to have the projector...
Page 43
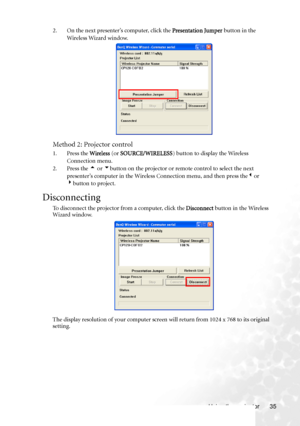
Using the projector 35 2. On the next presenter’s computer, click the Presentation Jumper button in the
Wireless Wizard window.
Method 2: Projector control
1. Press the Wireless (or SOURCE/WIRELESS) button to display the Wireless
Connection menu.
2. Press the 5 or 6button on the projector or remote control to select the next
presenter’s computer in the Wireless Connection menu, and then press the3or
4button to project.
Disconnecting
To disconnect the projector from a computer, click the Disconnect...
Page 44
Using the projector 36
Menu operation
Menu system
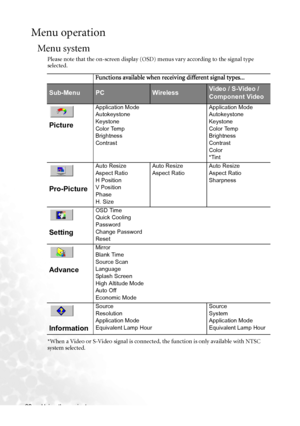
Please note that the on-screen display (OSD) menus vary according to the signal type
selected.
*When a Video or S-Video signal is connected, the function is only available with NTSC
system selected.
Functions available when receiving different signal types...
Sub-MenuPCWirelessVideo / S-Video /
Component Video

Picture
Application Mode
Autokeystone
Keystone
Color Temp
Brightness
ContrastApplication Mode
Autokeystone
Keystone
Color Temp
Brightness...
Page 45
Using the projector 37
Using the menus
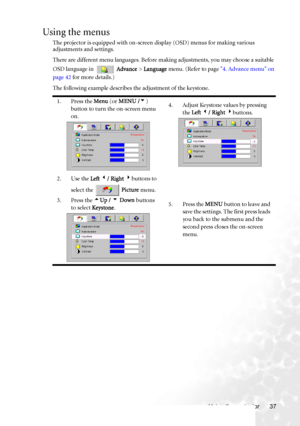
The projector is equipped with on-screen display (OSD) menus for making various
adjustments and settings.
There are different menu languages. Before making adjustments, you may choose a suitable
OSD language in   Advance > Language menu. (Refer to page 4. Advance menu on
page 42 for more details.)
The following example describes the adjustment of the keystone.
1. Press the Menu (or MENU /6)
button to turn the on-screen menu
on.4. Adjust Keystone values by...
Page 46
Using the projector 38
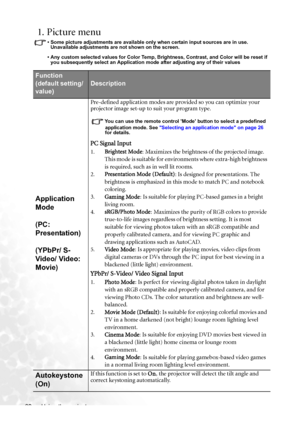
1. Picture menu
• Some picture adjustments are available only when certain input sources are in use.
Unavailable adjustments are not shown on the screen.
• Any custom selected values for Color Temp, Brightness, Contrast, and Color will be reset if
you subsequently select an Application mode after adjusting any of their values
Function
(default setting/
value)
Description
Application
Mode
(PC:
Presentation)
(YPbPr/ S-
Video/ Video:
Movie)
Pre-defined application modes are...
Page 47
Using the projector 39
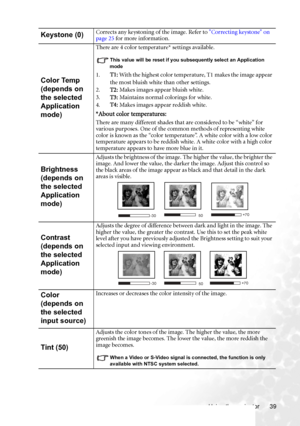
Keystone (0)Corrects any keystoning of the image. Refer to Correcting keystone on
page 25 for more information.
Color Temp
(depends on
the selected
Application
mode)
There are 4 color temperature* settings available.
This value will be reset if you subsequently select an Application
mode
1.T1: With the highest color temperature, T1 makes the image appear
the most bluish white than other settings.
2.T2: Makes images appear bluish white.
3.T3: Maintains normal colorings for...
Page 48
Using the projector 40
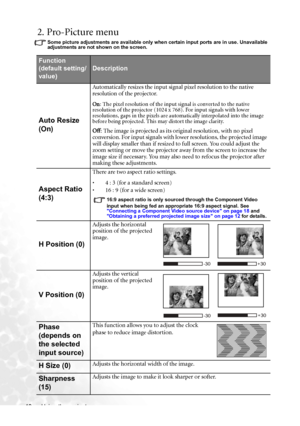
2. Pro-Picture menu
Some picture adjustments are available only when certain input ports are in use. Unavailable
adjustments are not shown on the screen.
Function
(default setting/
value)
Description
Auto Resize
(On)
Automatically resizes the input signal pixel resolution to the native
resolution of the projector.
On: The pixel resolution of the input signal is converted to the native
resolution of the projector (1024 x 768). For input signals with lower
resolutions, gaps in...
Page 49
Using the projector 41
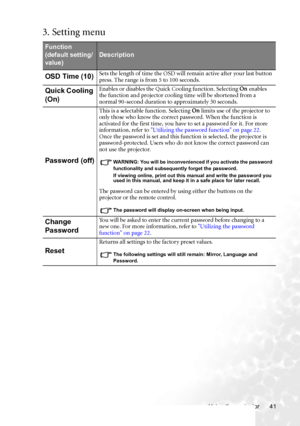
3. Setting menu
Function
(default setting/
value)
Description
OSD Time (10)Sets the length of time the OSD will remain active after your last button
press. The range is from 5 to 100 seconds.
Quick Cooling
(On)Enables or disables the Quick Cooling function. Selecting On enables
the function and projector cooling time will be shortened from a
normal 90-second duration to approximately 30 seconds.
Password (off)
This is a selectable function. Selecting On limits use of the...
Page 50
Using the projector 42
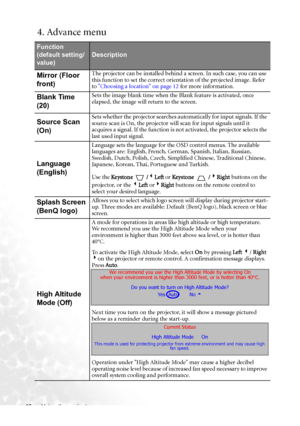
4. Advance menu
Function
(default setting/
value)
Description
Mirror (Floor
front)The projector can be installed behind a screen. In such case, you can use
this function to set the correct orientation of the projected image. Refer
to Choosing a location on page 12 for more information.
Blank Time
(20)Sets the image blank time when the Blank feature is activated, once
elapsed, the image will return to the screen.
Source Scan
(On)Sets whether the projector searches...
