BenQ Cp220 Dlp Users Manual
Here you can view all the pages of manual BenQ Cp220 Dlp Users Manual. The BenQ manuals for Projector are available online for free. You can easily download all the documents as PDF.
Page 31
Operation 25
Optimizing the image
To optimize the image, use the buttons on the projector or remote control, the on-screen
menus. For the operation of on-screen menus, refer to Using the menus on page 32.
The following instructions are optional. You do not following every step. It depends on the
image quality you desire.
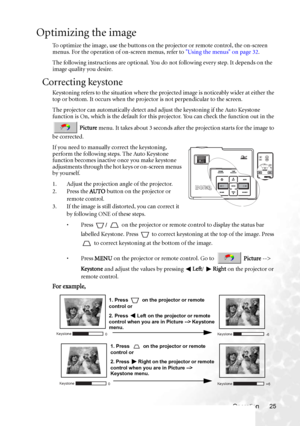
Correcting keystone
Keystoning refers to the situation where the projected image is noticeably wider at either the
top or bottom. It occurs when the projector is not perpendicular to...
Page 32
Operation 26
Selecting an application mode
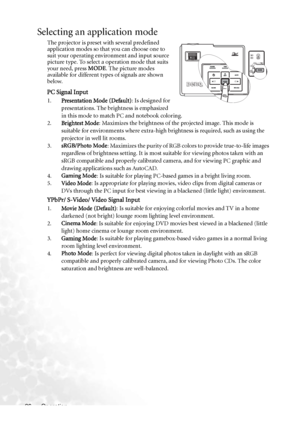
The projector is preset with several predefined
application modes so that you can choose one to
suit your operating environment and input source
picture type. To select a operation mode that suits
your need, press MODE. The picture modes
available for different types of signals are shown
below.
PC Signal Input
1.Presentation Mode (Default): Is designed for
presentations. The brightness is emphasized
in this mode to match PC and notebook coloring....
Page 33
Operation 27
Other adjustments
If you are not satisfied with the picture quality made by the preset modes. You can manually
adjust some of the settings through the OSD menus.
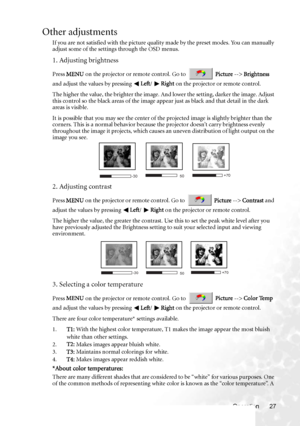
1. Adjusting brightness
Press MENU on the projector or remote control. Go to  Picture --> Brightness
and adjust the values by pressing Left/ Right on the projector or remote control.
The higher the value, the brighter the image. And lower the setting, darker the image. Adjust
this control so the black areas of the image appear...
Page 34
Operation
28 white color with a low color temperature appear
s to be reddish white. A white color with a
high color temperature appears to have more blue in it.
Operating in a high altitude environment
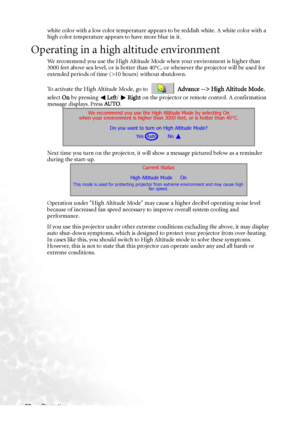
We recommend you use the High Altitude Mode when your environment is higher than
3000 feet above sea level, or is hotter than 40°C, or whenever the projector will be used for
extended periods of time (>10 hours) without shutdown.
To activate the High Altitude Mode, go to
  Advance --> High Altitude...
Page 35
Operation 29
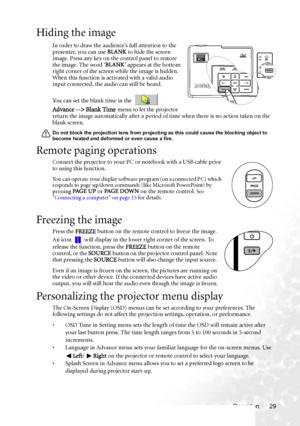
Hiding the image
In order to draw the audience’s full attention to the
presenter, you can use BLANK to hide the screen
image. Press any key on the control panel to restore
the image. The word ‘BLANK’ appears at the bottom
right corner of the screen while the image is hidden.
When this function is activated with a valid audio
input connected, the audio can still be heard.
You can set the blank time in the

Advance --> Blank Time
menu to let the projector
return the image...
Page 36
Operation 30
Shutting down the projector
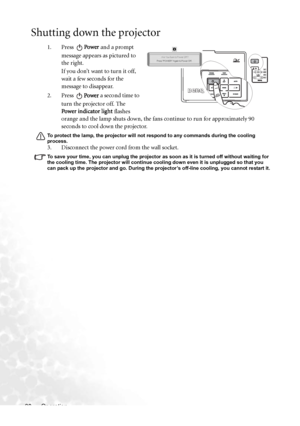
1. Press Power and a prompt
message appears as pictured to
the right.
If you don’t want to turn it off,
wait a few seconds for the
message to disappear.
2. Press Power a second time to
turn the projector off. The
Power indicator light flashes
orange and the lamp shuts down, the fans continue to run for approximately 90
seconds to cool down the projector.
To protect the lamp, the projector will not respond to any commands during the cooling
process.
3....
Page 37
Operation 31
Menu operation
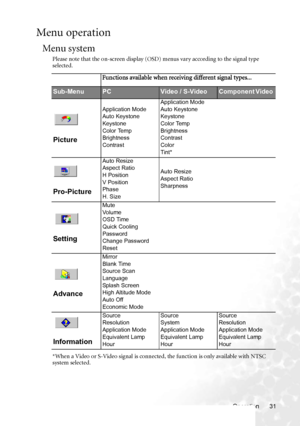
Menu system
Please note that the on-screen display (OSD) menus vary according to the signal type
selected.
*When a Video or S-Video signal is connected, the function is only available with NTSC
system selected.
Functions available when receiving different signal types...
Sub-MenuPCVideo / S-VideoComponent Video
Picture
Application Mode
Auto Keystone
Keystone
Color Temp
Brightness
ContrastApplication Mode
Auto Keystone
Keystone
Color Temp
Brightness
Contrast
Color
Tint*...
Page 38
Operation 32
Using the menus
The projector is equipped with on-screen display (OSD) menus for making various
adjustments and settings.
There are 17 different menu languages of your choice. See 4. Advance menu on page 36 for
more details.
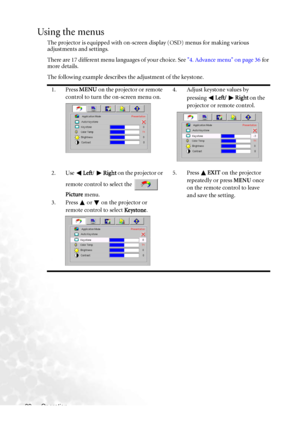
The following example describes the adjustment of the keystone.
1. Press MENU on the projector or remote
control to turn the on-screen menu on.4. Adjust keystone values by
pressing Left/ Right on the
projector or remote control.
2. Use Left/ Right on the projector...
Page 39
Operation 33
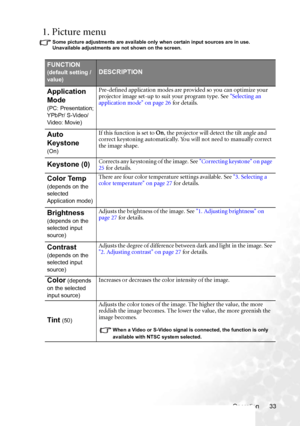
1. Picture menu
Some picture adjustments are available only when certain input sources are in use.
Unavailable adjustments are not shown on the screen.
FUNCTION
(default setting /
value)DESCRIPTION
Application
Mode
(PC: Presentation;
YPbPr/ S-Video/
Video: Movie)
Pre-defined application modes are provided so you can optimize your
projector image set-up to suit your program type. See Selecting an
application mode on page 26 for details.
Auto
Keystone
(On)
If this function is set to On,...
Page 40
Operation 34
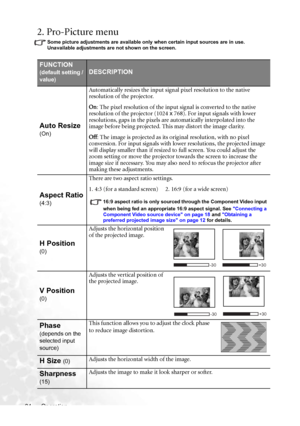
2. Pro-Picture menu
Some picture adjustments are available only when certain input sources are in use.
Unavailable adjustments are not shown on the screen.
FUNCTION
(default setting /
value)DESCRIPTION
Auto Resize
(On)
Automatically resizes the input signal pixel resolution to the native
resolution of the projector.
On: The pixel resolution of the input signal is converted to the native
resolution of the projector (1024 x 768). For input signals with lower
resolutions, gaps in the...
