Dell 1110 User Guide
Here you can view all the pages of manual Dell 1110 User Guide. The Dell manuals for Printer are available online for free. You can easily download all the documents as PDF.
Page 1
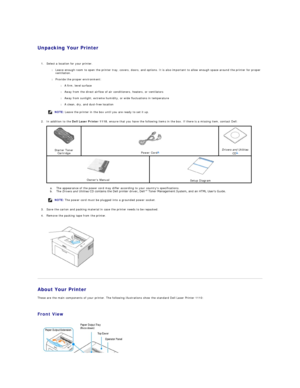
Unpacking Your Printer

1. Select a location for your printer.

l Leave enough room to open the printer tray, covers, doors, and options. It is also  important to allow enough space around the printer for proper
ventilation.

l Provide the proper environment:

l A firm, level surface

l Away from the direct airflow of air conditioners, heaters, or ventilators

l Away from sunlight, extreme humidity, or wide fluctuations in temperature

l A clean, dry, and dust - free location...
Page 2
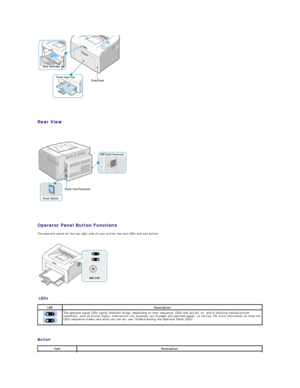
Rear View


Operator Panel Button Functions
The operator panel on the top right side of your printer has two LEDs and one button.

LEDs

Button  LED   Description
    The operator panel LEDs signify different things, depending on their sequence. LEDs that are off, on, and/or blinking indicate printer
conditions, such as printer status, intervention (for example, out of paper and jammed paper), or service. For more information on what the
LEDs sequence means...
Page 3
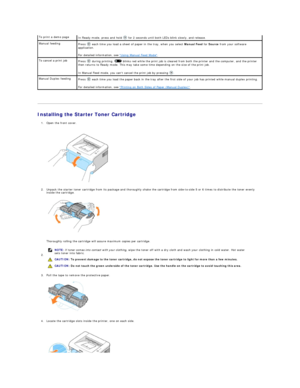
Installing the Starter Toner Cartridge
1. Open the front cover.


2. Unpack the starter toner cartridge from its package and thoroughly shake the  cartridge from side - to - side 5 or 6 times to distribute the toner evenly
inside the cartridge.


Thoroughly rolling the cartridge will assure maximum copies per cartridge.
2.

3. Pull the tape to remove the protective paper.


4. Locate the cartridge slots inside the printer, one on each side.

 To print a demo page...
Page 4
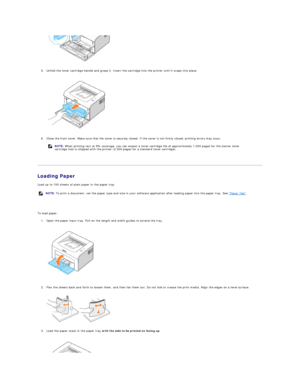
5. Unfold the toner cartridge handle and grasp it. Insert the cartridge into the printer until it snaps into place.


6. Close the front cover. Make sure that the cover is securely closed. If the cover is not firmly closed, printing errors may occur.


Loading Paper
Load up to 150 sheets of plain paper in the paper tray.


To load paper:
1. Open the paper input tray. Pull on the length and width guides to extend the tray.


2. Flex the sheets back and...
Page 5
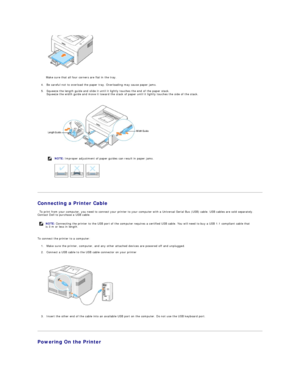
Make sure that all four corners are flat in the tray.
4. Be careful not to overload the paper tray. Overloading may cause paper jams.

5. Squeeze the length guide and slide it until it lightly touches the end of the paper stack.
Squeeze the width guide and move it toward the stack of paper until it lightly touches the side of the stack.


Connecting a Printer Cable
   To print from your computer, you need to connect your printer to your computer with a Universal Serial Bus (USB)...
Page 6
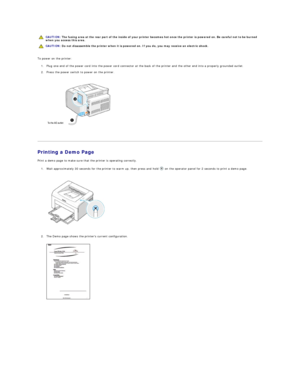
To power on the printer:
1. Plug one end of the power cord into the power cord connector at the back of the printer and the other end into a properly grounded outlet.

2. Press the power switch to power on the printer.


Printing a Demo Page
Print a demo page to make sure that the printer is operating correctly.
1. Wait approximately 30 seconds for the printer to warm up, then press and hold    on the operator panel for  2 seconds to print a demo page.


2. The Demo...
Page 7
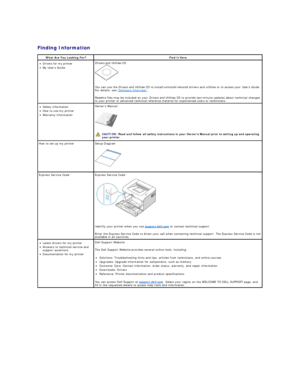
Finding Information
    What Are You Looking For?   Find It Here
•   Drivers for my printer
•   My Users Guide Drivers and Utilities  CD

You can use the  Drivers and Utilities  CD to install/uninstall/reinstall drivers and utilities or to access your  Users Guide .
For details, see  Software Overview .
Readme files may be included on your  Drivers and Utilities  CD to provide last - minute updates about technical changes
to your printer or advanced technical reference material for...
Page 8
Maintenance


Cleaning Your Printer
  To maintain print quality, follow the cleaning procedures below, each time the toner cartridge is replaced or  if print quality problems occur .

Cleaning the Exterior
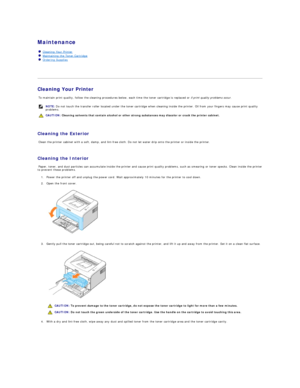
  Clean the printer cabinet with a soft, damp, and lint - free cloth. Do not let water drip onto the printer or inside the printer.

Cleaning the Interior
  Paper, toner, and dust particles can accumulate inside the printer and cause print quality problems, such as smearing...
Page 9
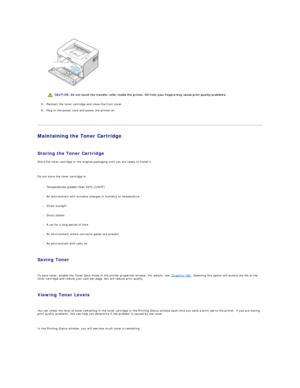
5. Reinsert the toner cartridge and close the front cover.

6. Plug in the power cord and power the printer on.


Maintaining the Toner Cartridge

Storing the Toner Cartridge
Store the toner cartridge in the original packaging until you are ready to install it.

Do not store the toner cartridge in:

l Temperatures greater than 40°C (104°Fyf


l An environment with extreme changes in humidity or temperature


l Direct sunlight


l Dusty places...
Page 10
Redistributing Toner

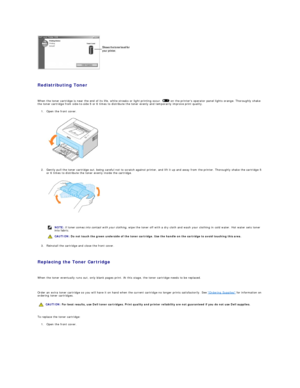
When the toner cartridge is near the end of its life, white streaks or light printing occur.    on the printers operator panel lights orange. Thoroughly shake
the toner cartridge from side - to - side 5 or 6 times to distribute the toner evenly and temporarily improve print quality.
1. Open the front cover.


2. Gently pull the toner cartridge out, being careful not to scratch against printer, and lift it up and away from the printer. Thoroughly shake the...
