BenQ Cp270 Dlp Users Manual
Here you can view all the pages of manual BenQ Cp270 Dlp Users Manual. The BenQ manuals for Projector are available online for free. You can easily download all the documents as PDF.
Page 31
Operation 31
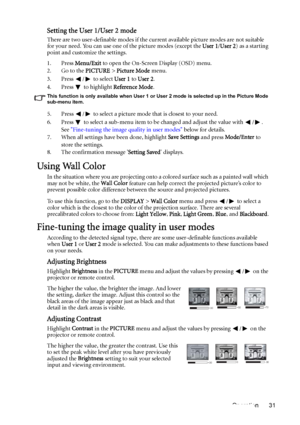
Setting the User 1/User 2 mode
There are two user-definable modes if the current available picture modes are not suitable
for your need. You can use one of the picture modes (except the User 1/User 2) as a starting
point and customize the settings.
1. Press Menu/Exit to open the On-Screen Display (OSD) menu.
2. Go to the PICTURE > Picture Mode menu.
3. Press  /  to select User 1 to User 2.
4. Press  to highlight Reference Mode.
This function is only available when User 1 or User 2 mode is...
Page 32
Operation 32
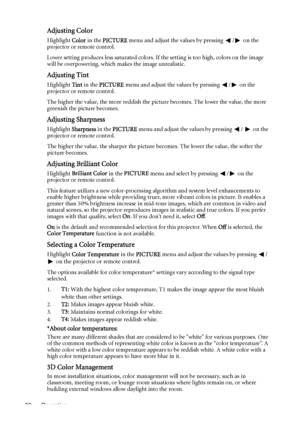
Adjusting Color
Highlight Color in the PICTURE menu and adjust the values by pressing  / on the
projector or remote control.
Lower setting produces less saturated colors. If the setting is too high, colors on the image
will be overpowering, which makes the image unrealistic.
Adjusting Tint
Highlight Tint in the PICTURE menu and adjust the values by pressing  / on the
projector or remote control.
The higher the value, the more reddish the picture becomes. The lower the value, the more...
Page 33
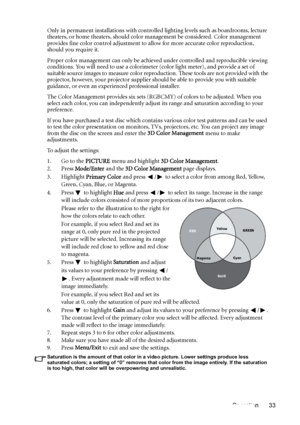
Operation 33 Only in permanent installations with controlled lighting levels such as boardrooms, lecture
theaters, or home theaters, should color management be considered. Color management
provides fine color control adjustment to allow for more accurate color reproduction,
should you require it.
Proper color management can only be achieved under controlled and reproducible viewing
conditions. You will need to use a colorimeter (color light meter), and provide a set of
suitable source images to...
Page 34
Operation 34
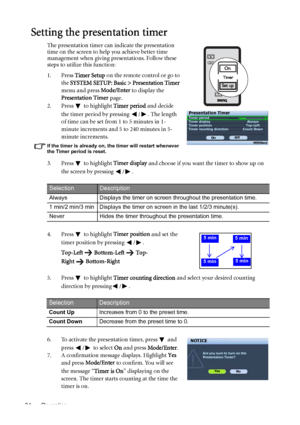
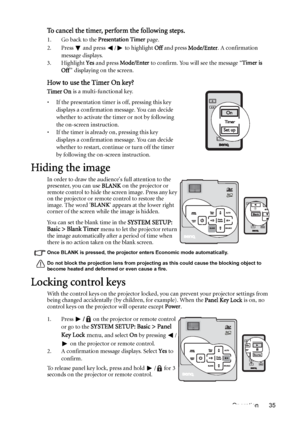
Setting the presentation timer
The presentation timer can indicate the presentation
time on the screen to help you achieve better time
management when giving presentations. Follow these
steps to utilize this function:
1. Press Timer Setup on the remote control or go to
the SYSTEM SETUP: Basic > Presentation Timer
menu and press Mode/Enter to display the
Presentation Timer page.
2. Press  to highlight Timer period and decide
the timer period by pressing  / . The length
of time can be...
Page 35
Operation 35
To cancel the timer, perform the following steps.
1. Go back to the Presentation Timer page.
2. Press   and press  /  to highlight Off and press Mode/Enter. A confirmation
message displays.
3. Highlight Yes and press Mode/Enter to confirm. You will see the message “Timer is
Off” displaying on the screen.
How to use the Timer On key?
Timer On is a multi-functional key.
• If the presentation timer is off, pressing this key
displays a confirmation message. You can decide
whether to...
Page 36
Operation 36You can also use the remote control to enter the SYSTEM SETUP: Basic > Panel Key Lock
and press  /  to select Off.
• Keys on the remote control are still in use when panel key lock is enabled.
• If you press Power to turn off the projector without disabling panel key lock, the projector
will still be in locked status the next time it is turned on.
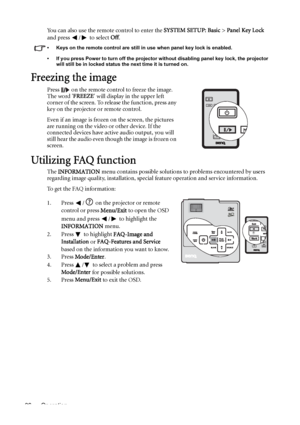
Freezing the image
Press   on the remote control to freeze the image.
The word FREEZE will display in the upper left
corner of the screen. To...
Page 37
Operation 37
Operating in a high altitude environment
We recommend you use the High Altitude Mode when your environment is between 1500 m
–3000 m above sea level, and temperature is between 0°C–35°C.
Do not use the High Altitude Mode if your altitude is between 0 m and 1500 m and temperature
is between 0°C and 35°C. The projector will be over cooled, if you turn the mode on under
such a condition.
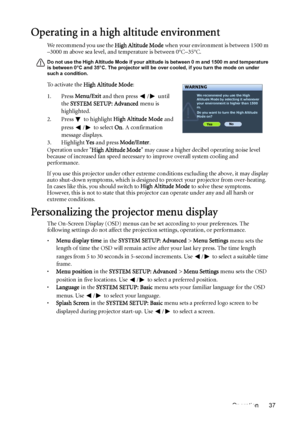
To activate the High Altitude Mode:
1. Press Menu/Exit and then press  /  until
the SYSTEM SETUP:...
Page 38
Operation 38
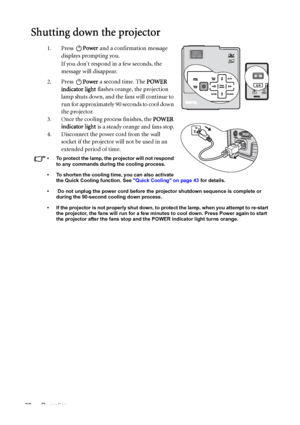
Shutting down the projector
1. Press Power and a confirmation message
displays prompting you.
If you dont respond in a few seconds, the
message will disappear.
2. Press Power a second time. The POWER
indicator light flashes orange, the projection
lamp shuts down, and the fans will continue to
run for approximately 90 seconds to cool down
the projector.
3. Once the cooling process finishes, the POWER
indicator light is a steady orange and fans stop.
4. Disconnect the power cord from...
Page 39
Operation 39
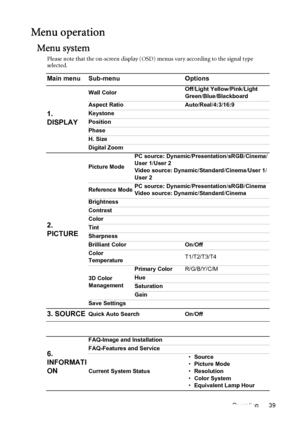
Menu operation
Menu system
Please note that the on-screen display (OSD) menus vary according to the signal type
selected.
Main menu Sub-menu Options
1.
DISPLAY
Wall ColorOff/Light Yellow/Pink/Light
Green/Blue/Blackboard
Aspect Ratio Auto/Real/4:3/16:9
Keystone
Position
Phase
H. Size
Digital Zoom
2.
PICTURE
Picture ModePC source: Dynamic/Presentation/sRGB/Cinema/
User 1/User 2
Video source: Dynamic/Standard/Cinema/User 1/
User 2
Reference ModePC source: Dynamic/Presentation/sRGB/Cinema...
Page 40
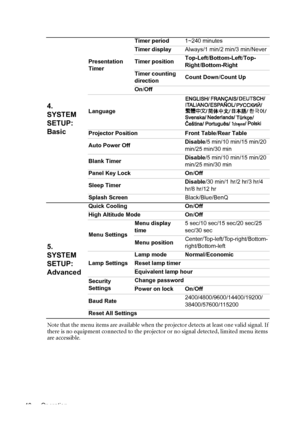
Operation 40Note that the menu items are available when the projector detects at least one valid signal. If
there is no equipment connected to the projector or no signal detected, limited menu items
are accessible.
4.
SYSTEM
SETUP:
Basic
Presentation
TimerTimer period1~240 minutes
Timer displayAlways/1 min/2 min/3 min/Never
Timer positionTop-Left/Bottom-Left/Top-
Right/Bottom-Right
Timer counting
directionCount Down/Count Up
On/Off
Language
Projector Position Front Table/Rear Table
Auto Power...
